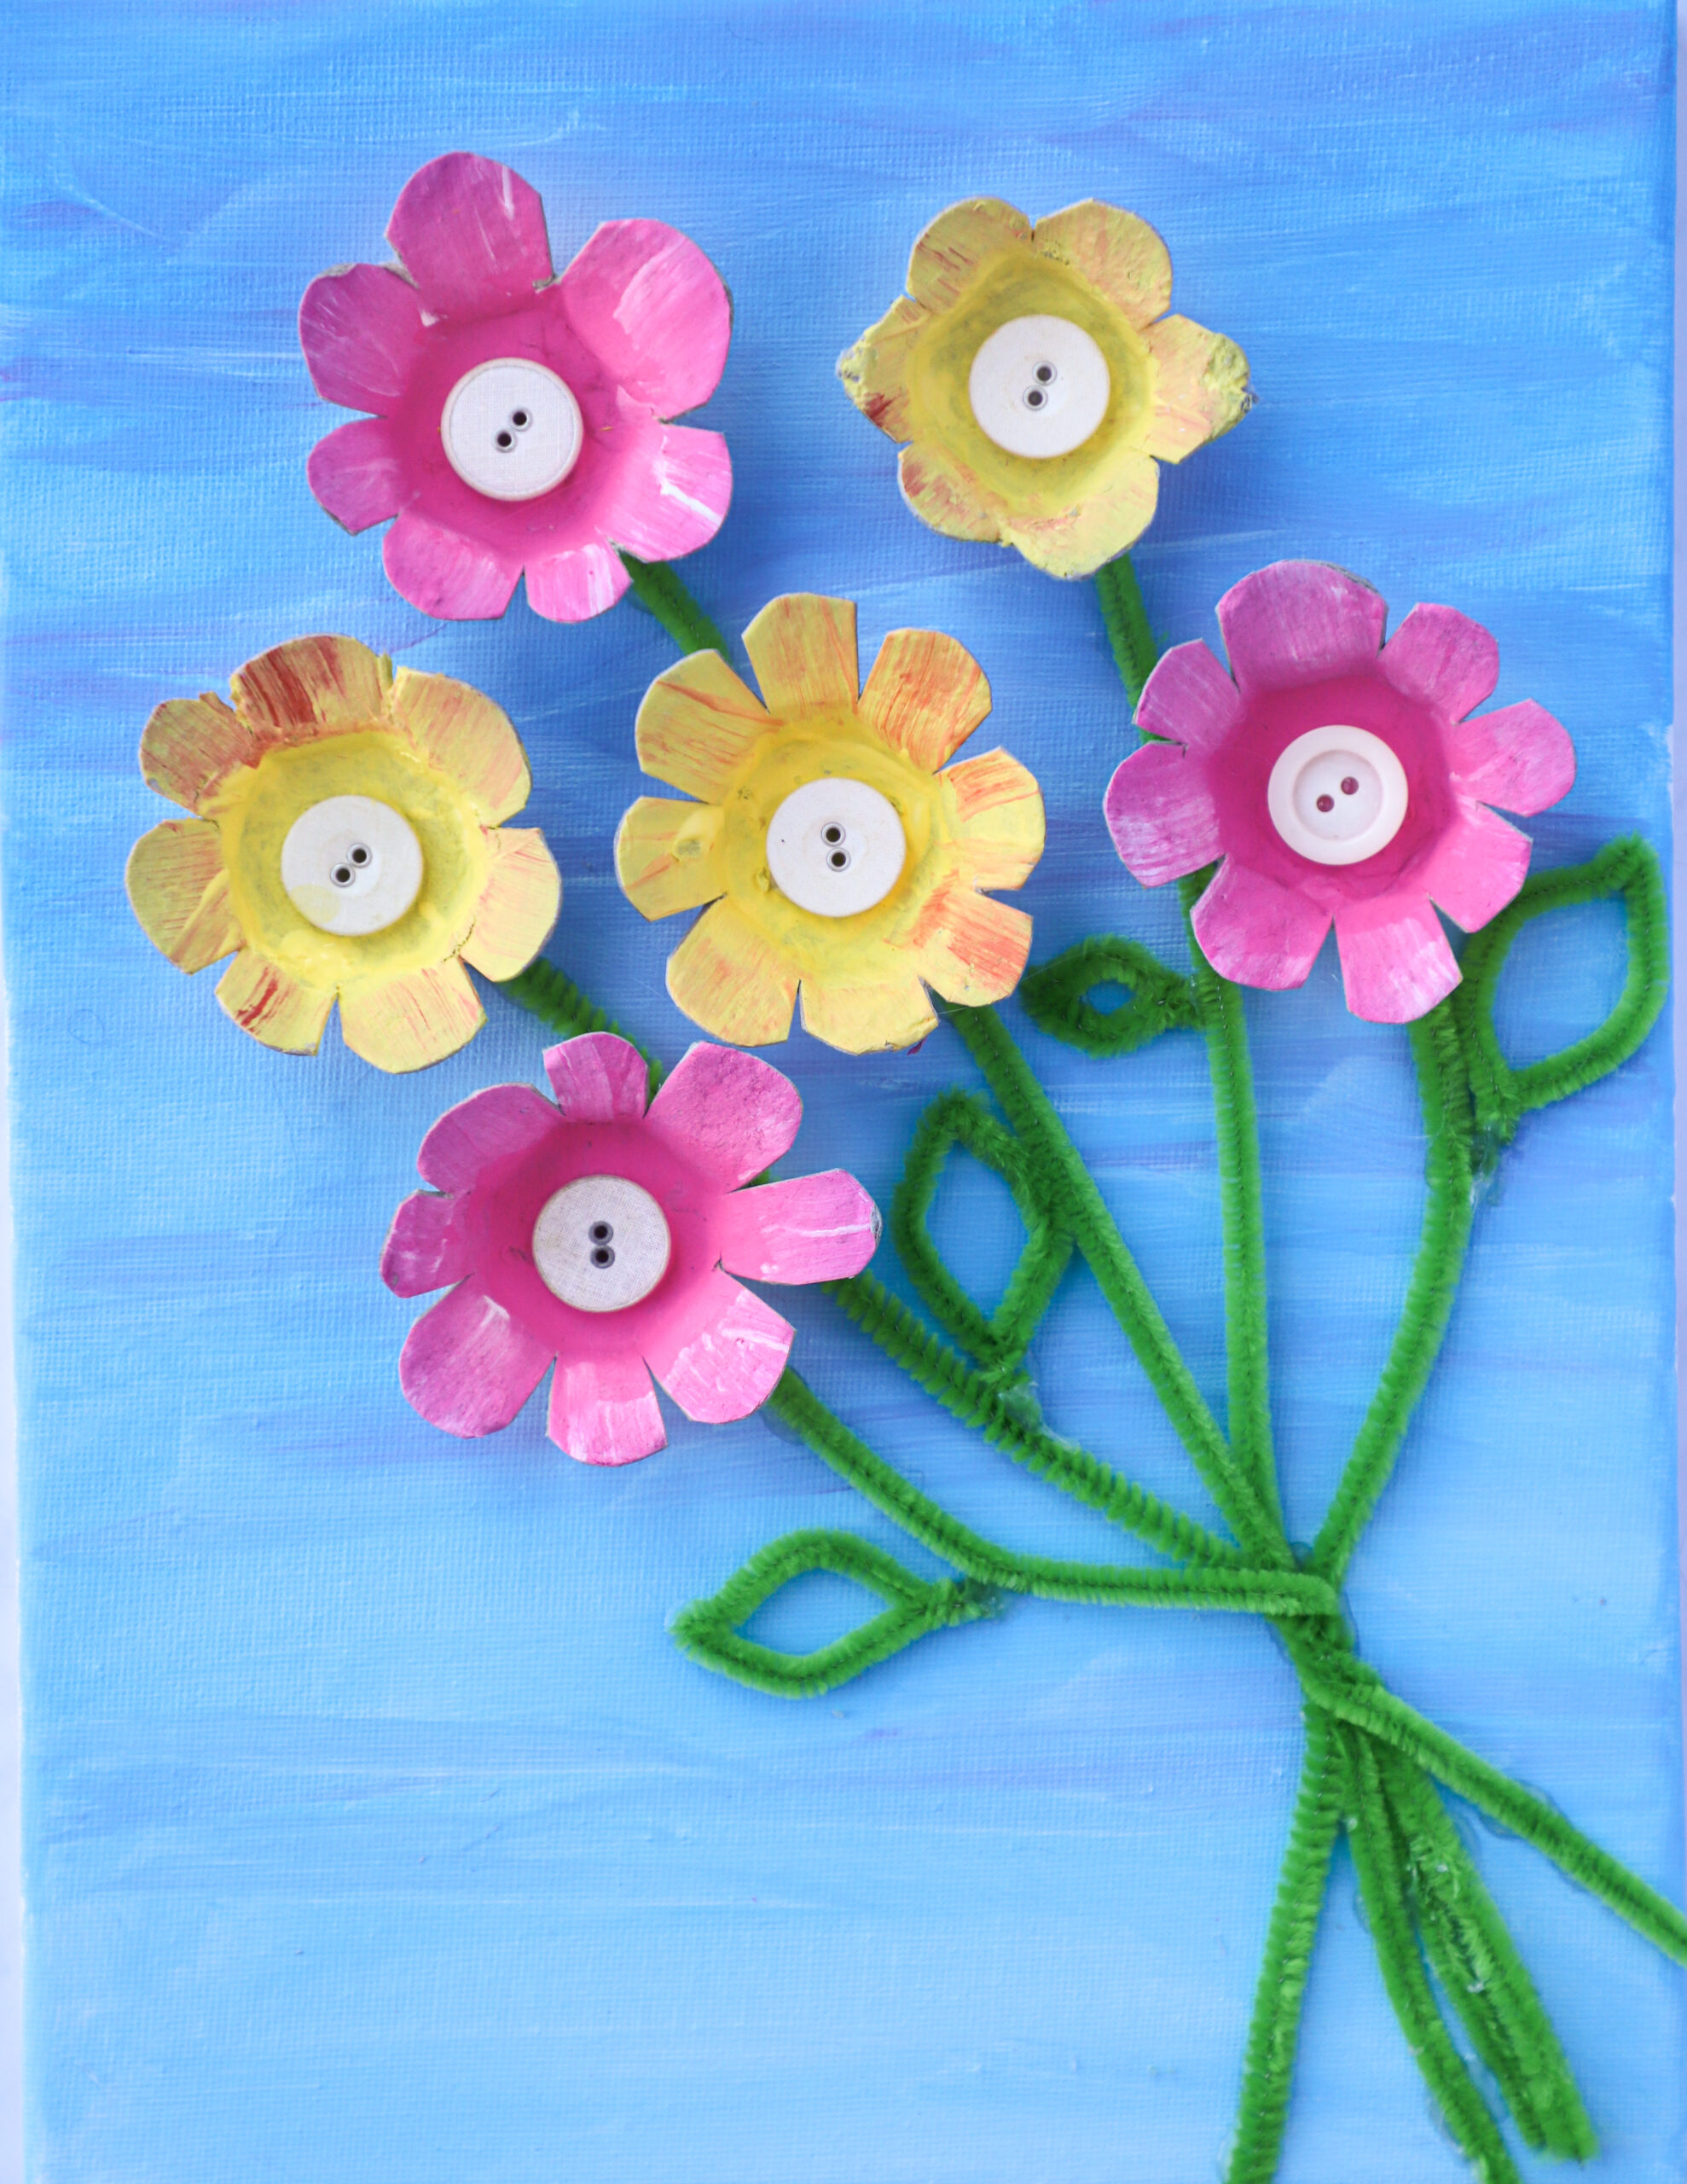
Round up your little sprouts and get ready to craft these adorable egg carton flowers to bring a burst of colour and creativity into your home! As spring begins to bloom, there’s no better way to celebrate the season than by creating something beautiful together. These egg carton flowers are a fun, eco-friendly craft that not only introduces kids to the joys of recycling, but also lets their imagination blossom. Whether you’re decorating your home or creating a sweet handmade gift, this craft will make the perfect project to welcome the new season with open arms. Let’s gather our supplies and dive into this colourful, crafty adventure!
What you need:
- 12” x 16” canvas
- Egg carton
- Scissors
- Paint (we used pink and yellow for the flowers and turquoise for the backdrop, but you can use whatever colours you like!)
- Paint brush
- Buttons (we used white, but colourful ones work too)
- Green pipe cleaners
- Ribbon
- Glue (we used hot glue, but craft glue would also work)
Step 1: Prepare the base
Start by preparing the base of the egg carton flowers by painting it a colour of the student’s choice. A technique that can be used here is mixing their chosen colour with streaks of white to add highlights in the sense of clouds. Alternatively, students can add streaks of purple or orange to add shades in the sense of a sunset.
Step 2: Start the egg carton flowers
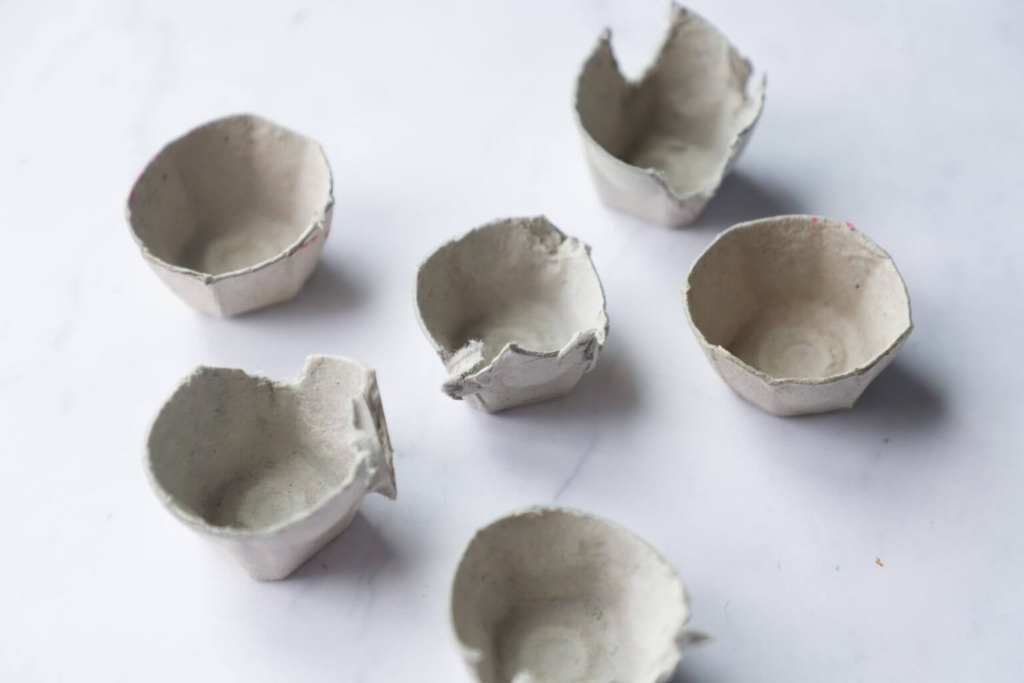
While the base is drying, it’s time to prepare the flowers. For this step, each flower is made from a single egg cup. Students can do this step or they can be prepared beforehand depending on their abilities. Egg carton cups are cut one by one, making a total of 6 per artwork.
Once the cups have been cut, make incisions along the sides of the cup for the petals. Next, bend the petals outwards by rolling along a pencil.
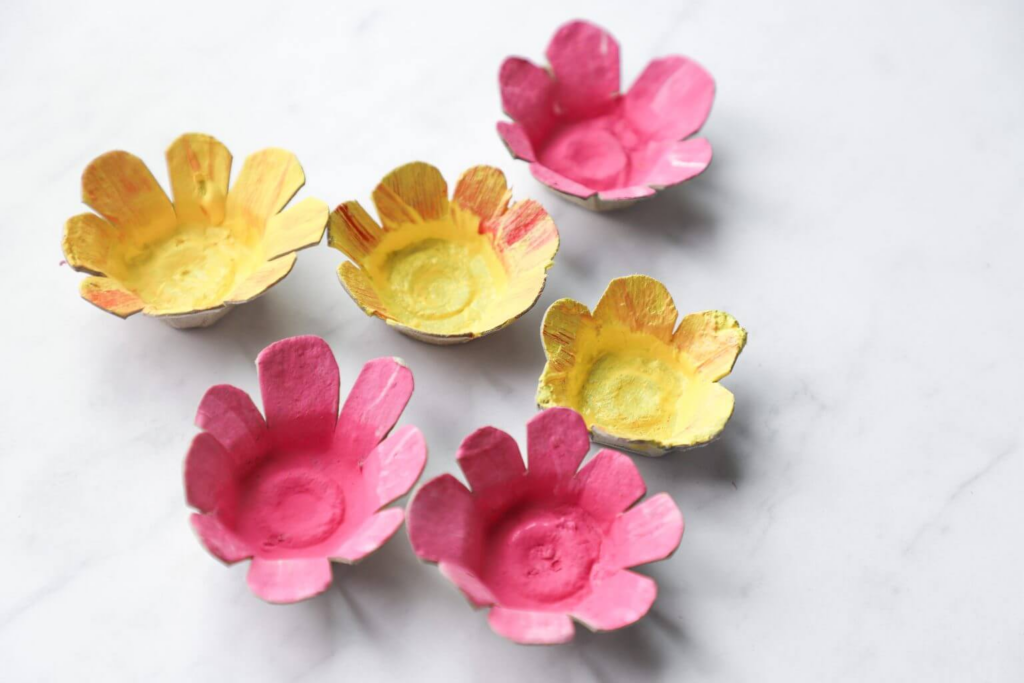
Step 3: Paint the petals
It’s finally time to paint the petals! Students can choose to paint with two colours to add dimension and more of a realistic impression. Start by painting the base of each flower one solid colour, this may take more than 1 coat to cover the carton. Then add a second complimentary colour (refer to our colour wheel here) adding subtle streaks on each petal.
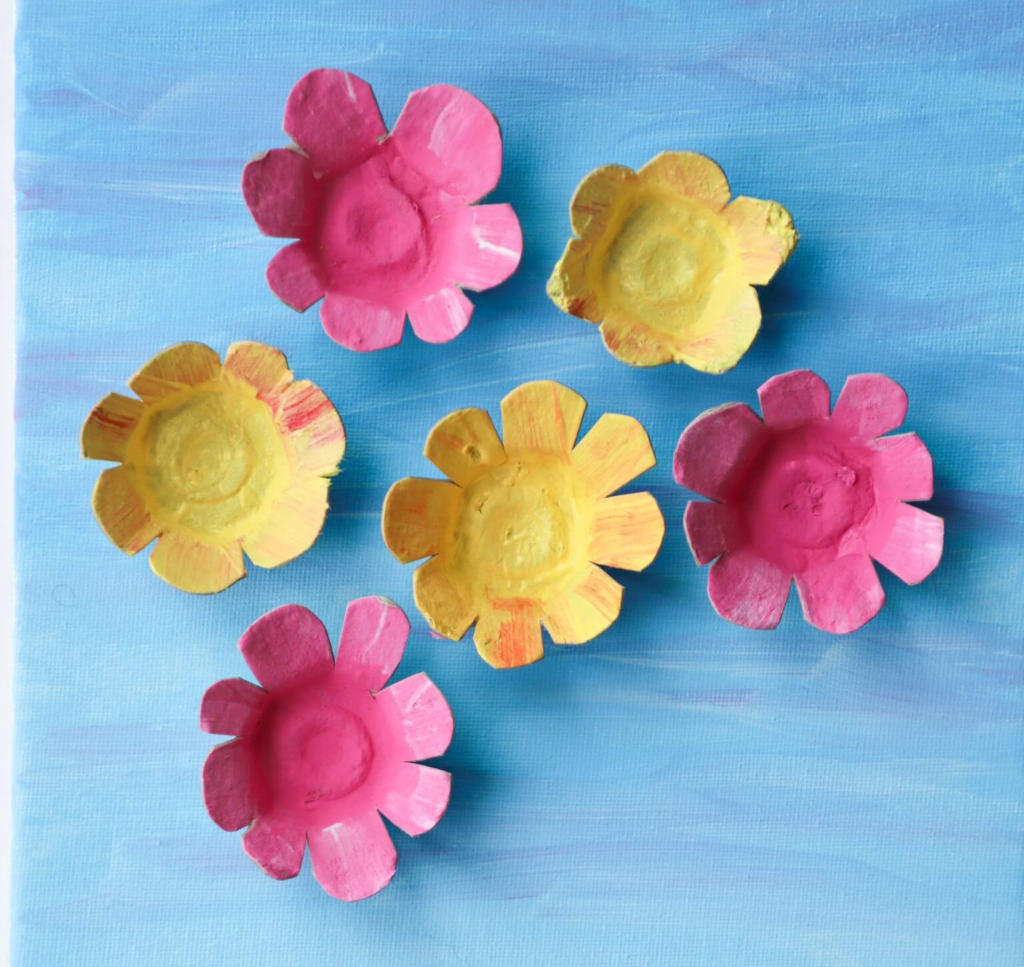
Step 4: Assemble the bouquet
As soon as everything is dry, students can arrange the flowers on their base and glue them down once they’re happy with the placement. Using the green pipe cleaners, add the stems to each egg carton flower. If the stems are too long, simply cut the ends and twist the short pieces into leaves. Finally, glue the stems to the base.
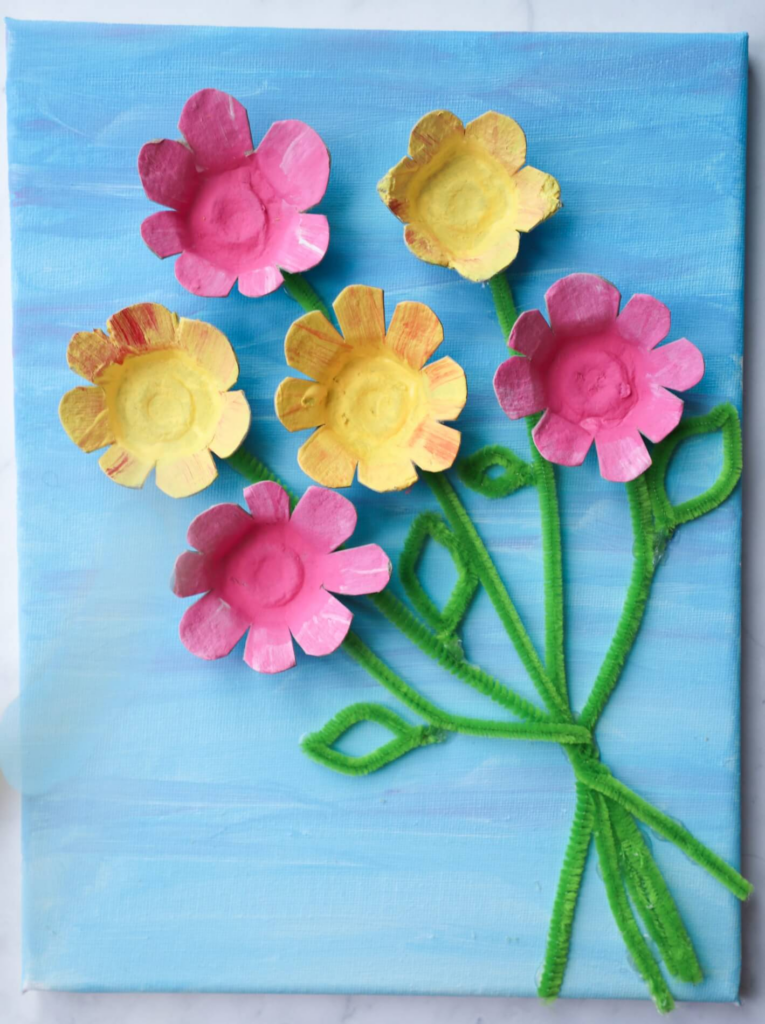
Step 5: Finishing touches
Lastly, we add the buttons as a finishing touch. Glue one button at the center of each flower. Et voilà, we’re done! These egg carton flowers are ready to display in the school hallways or to be gifted to someone special
Once you’ve finished your egg carton flowers, you’ll have a charming little garden to brighten up any room. It’s a fun and simple way to spend quality time together while celebrating the beauty of spring. Plus, the best part is that every flower is unique, just like your little ones! Whether displayed in a vase or strung together as a garland, these handmade blooms are sure to bring smiles all season long. Happy crafting and enjoy the colourful creations!