In-Class
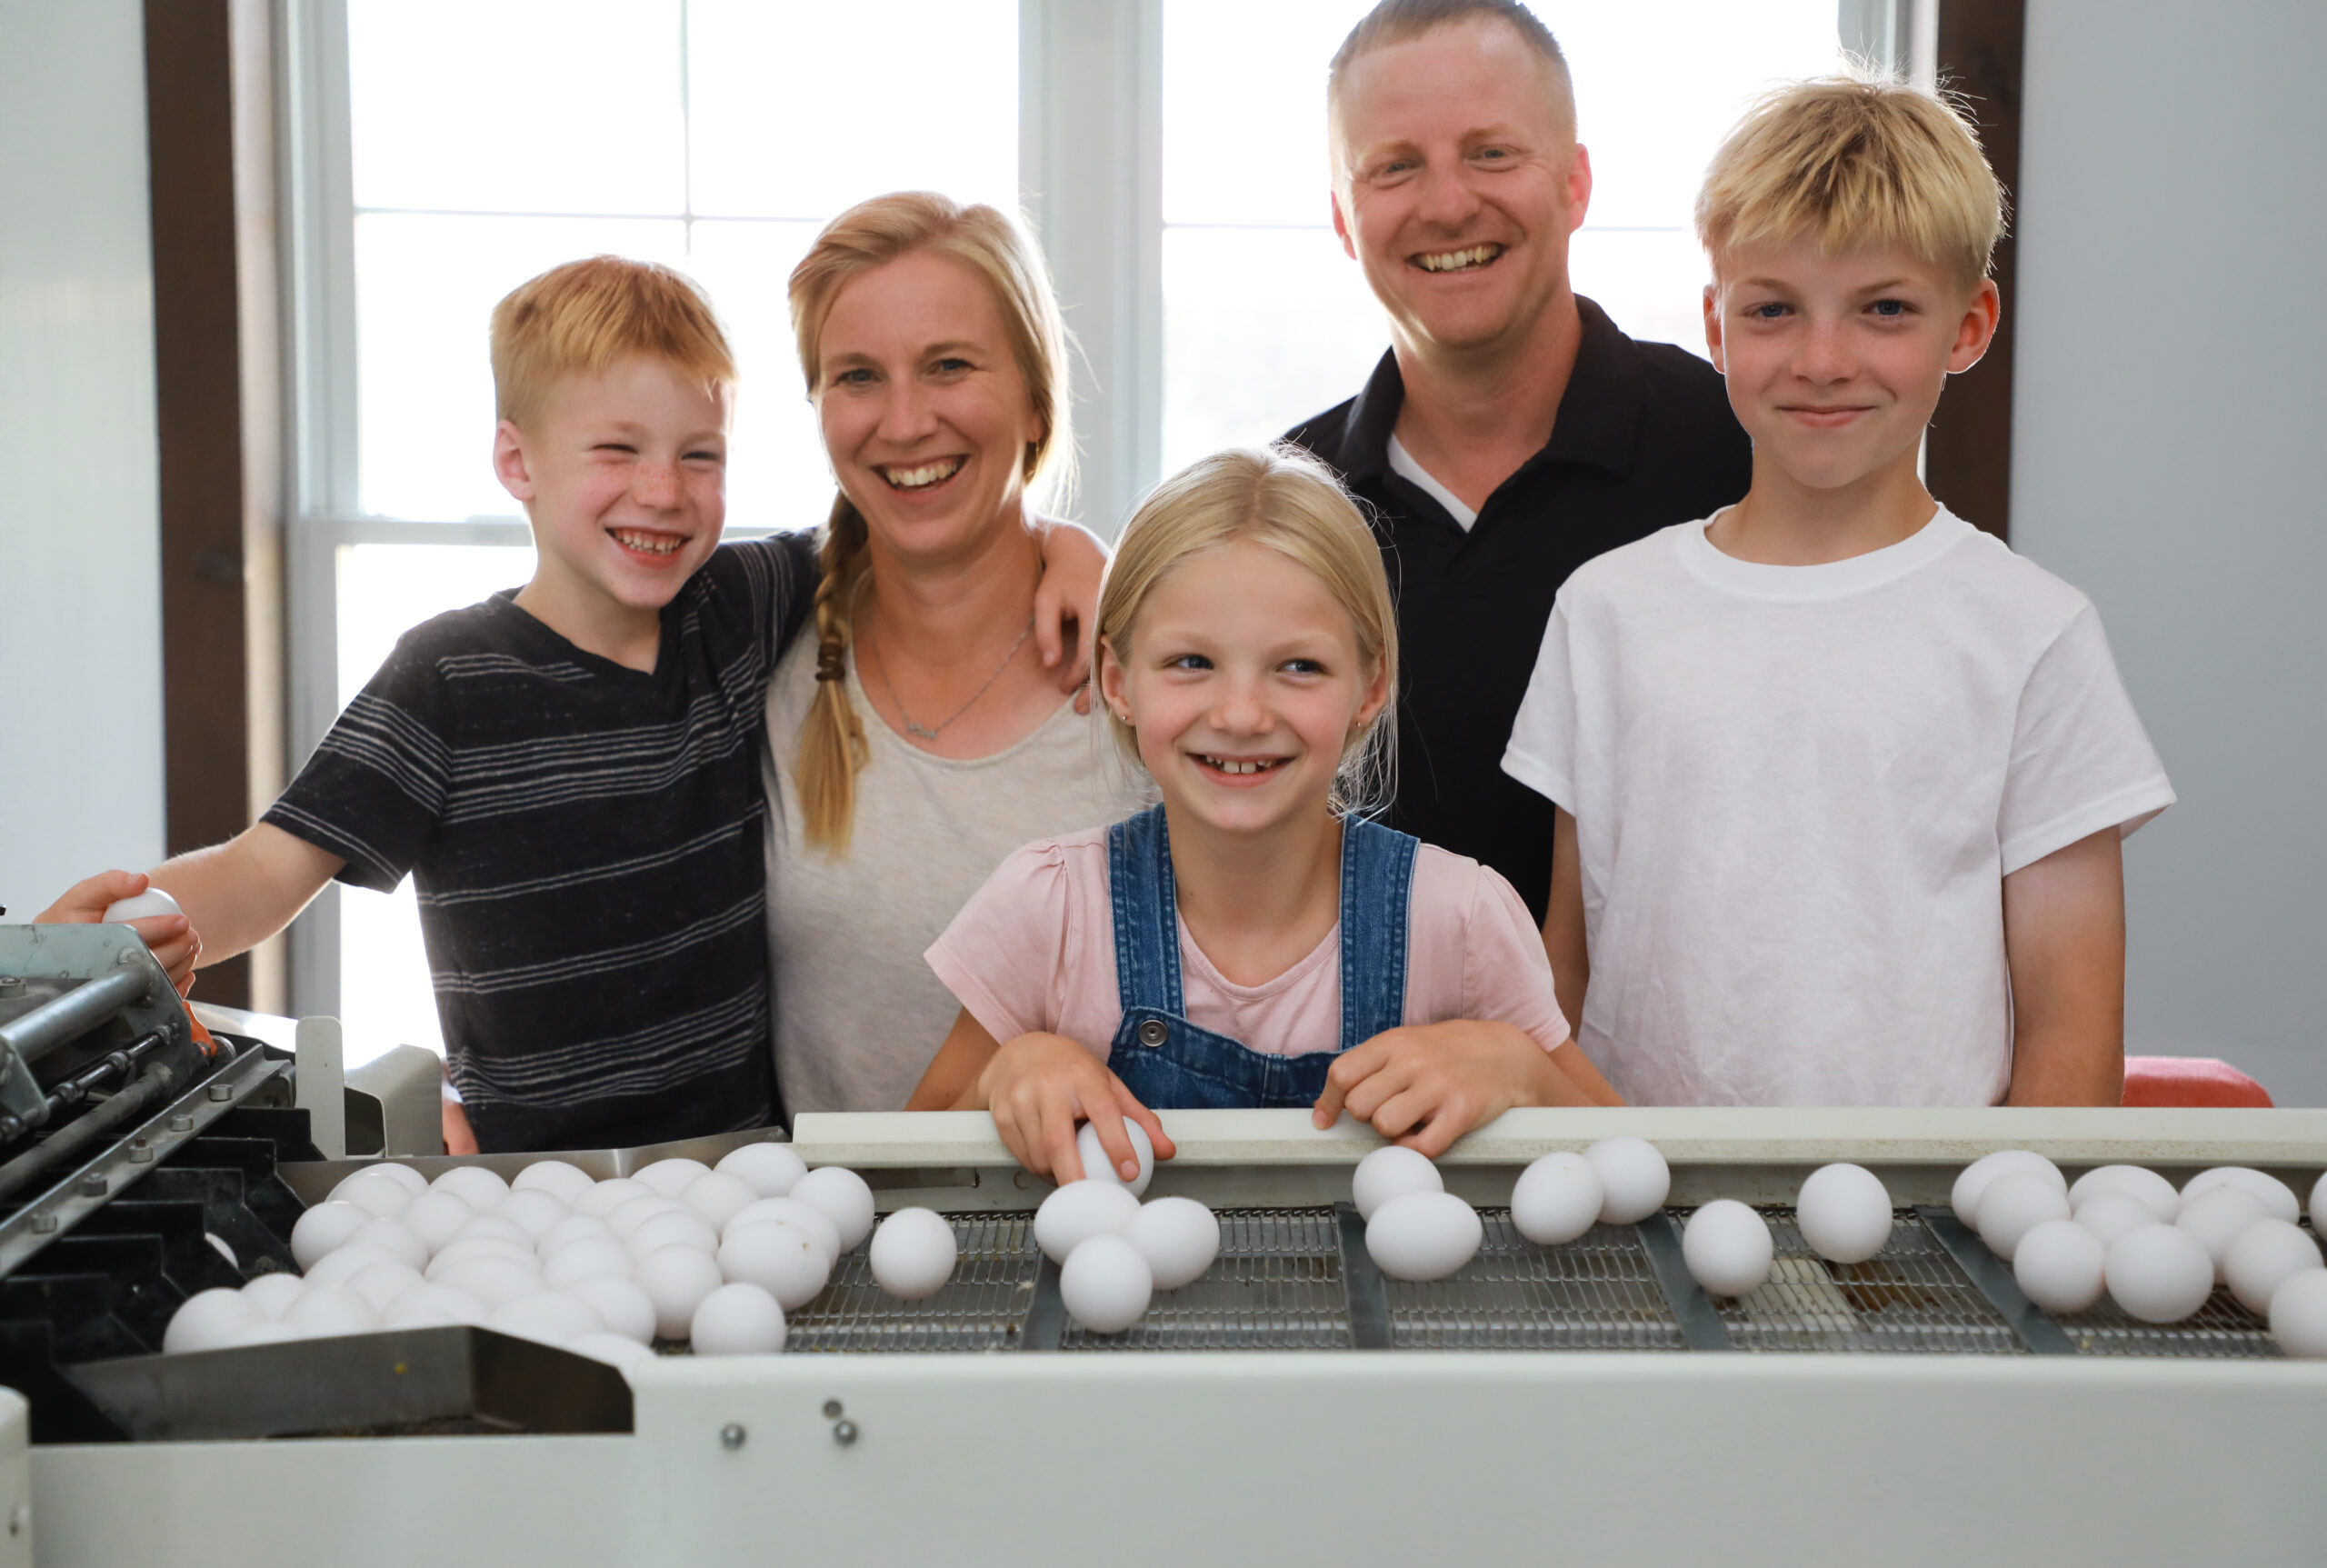
Eggsperience
Invite a real egg farmer to teach your class all about the farm-to-table journey of eggs in Ontario.
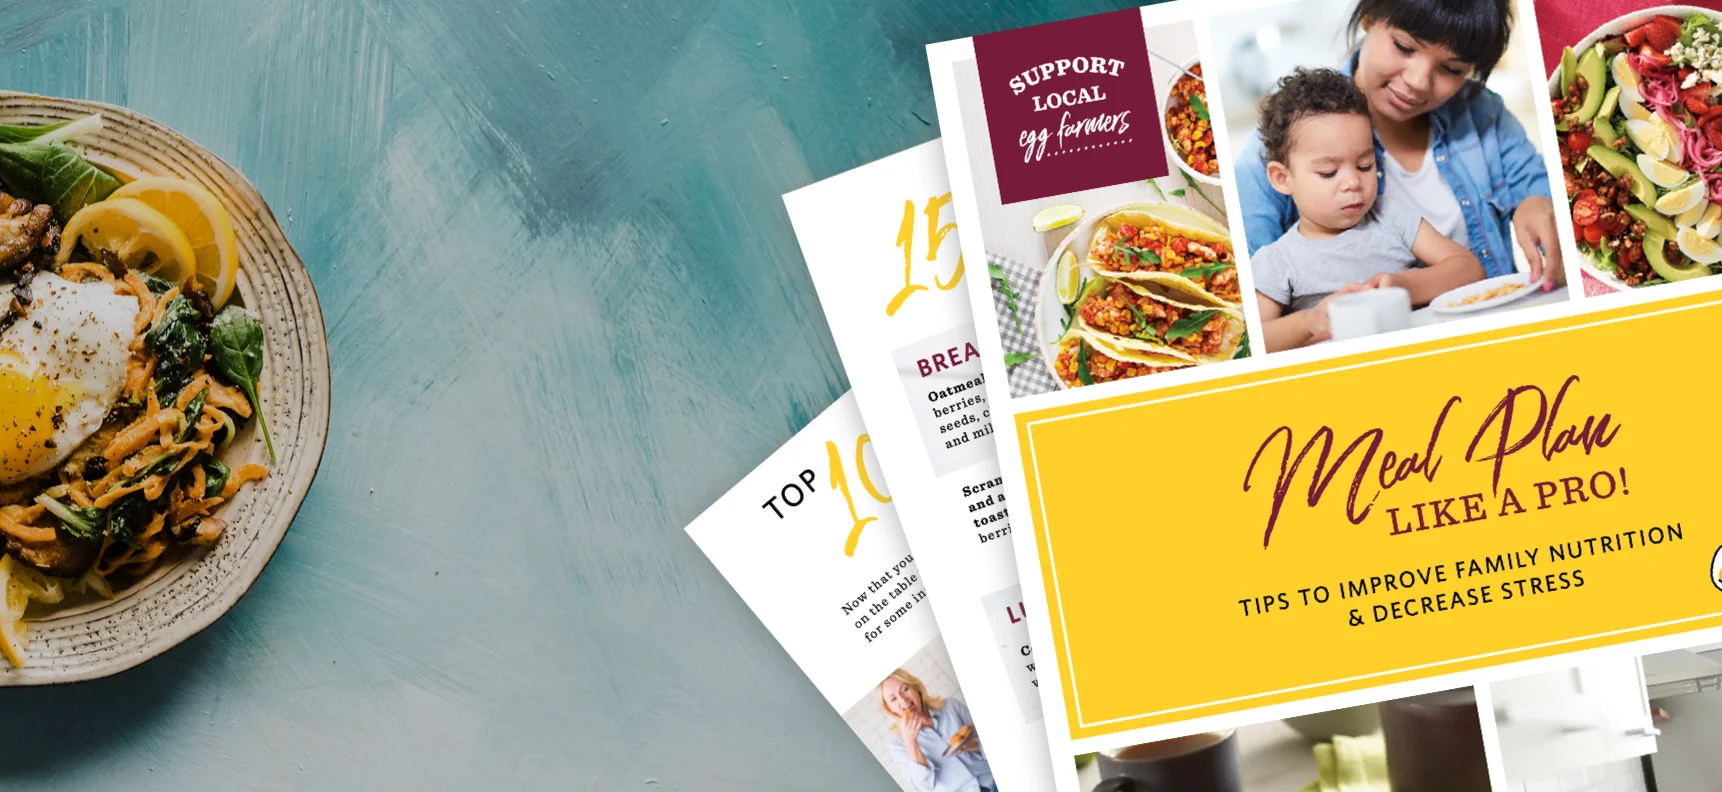
Meal Plan
Like a Pro
Meal planning can be an effective tool for decreasing stress around meal times, reducing food waste and maximizing your grocery budget. Get your free copy today!


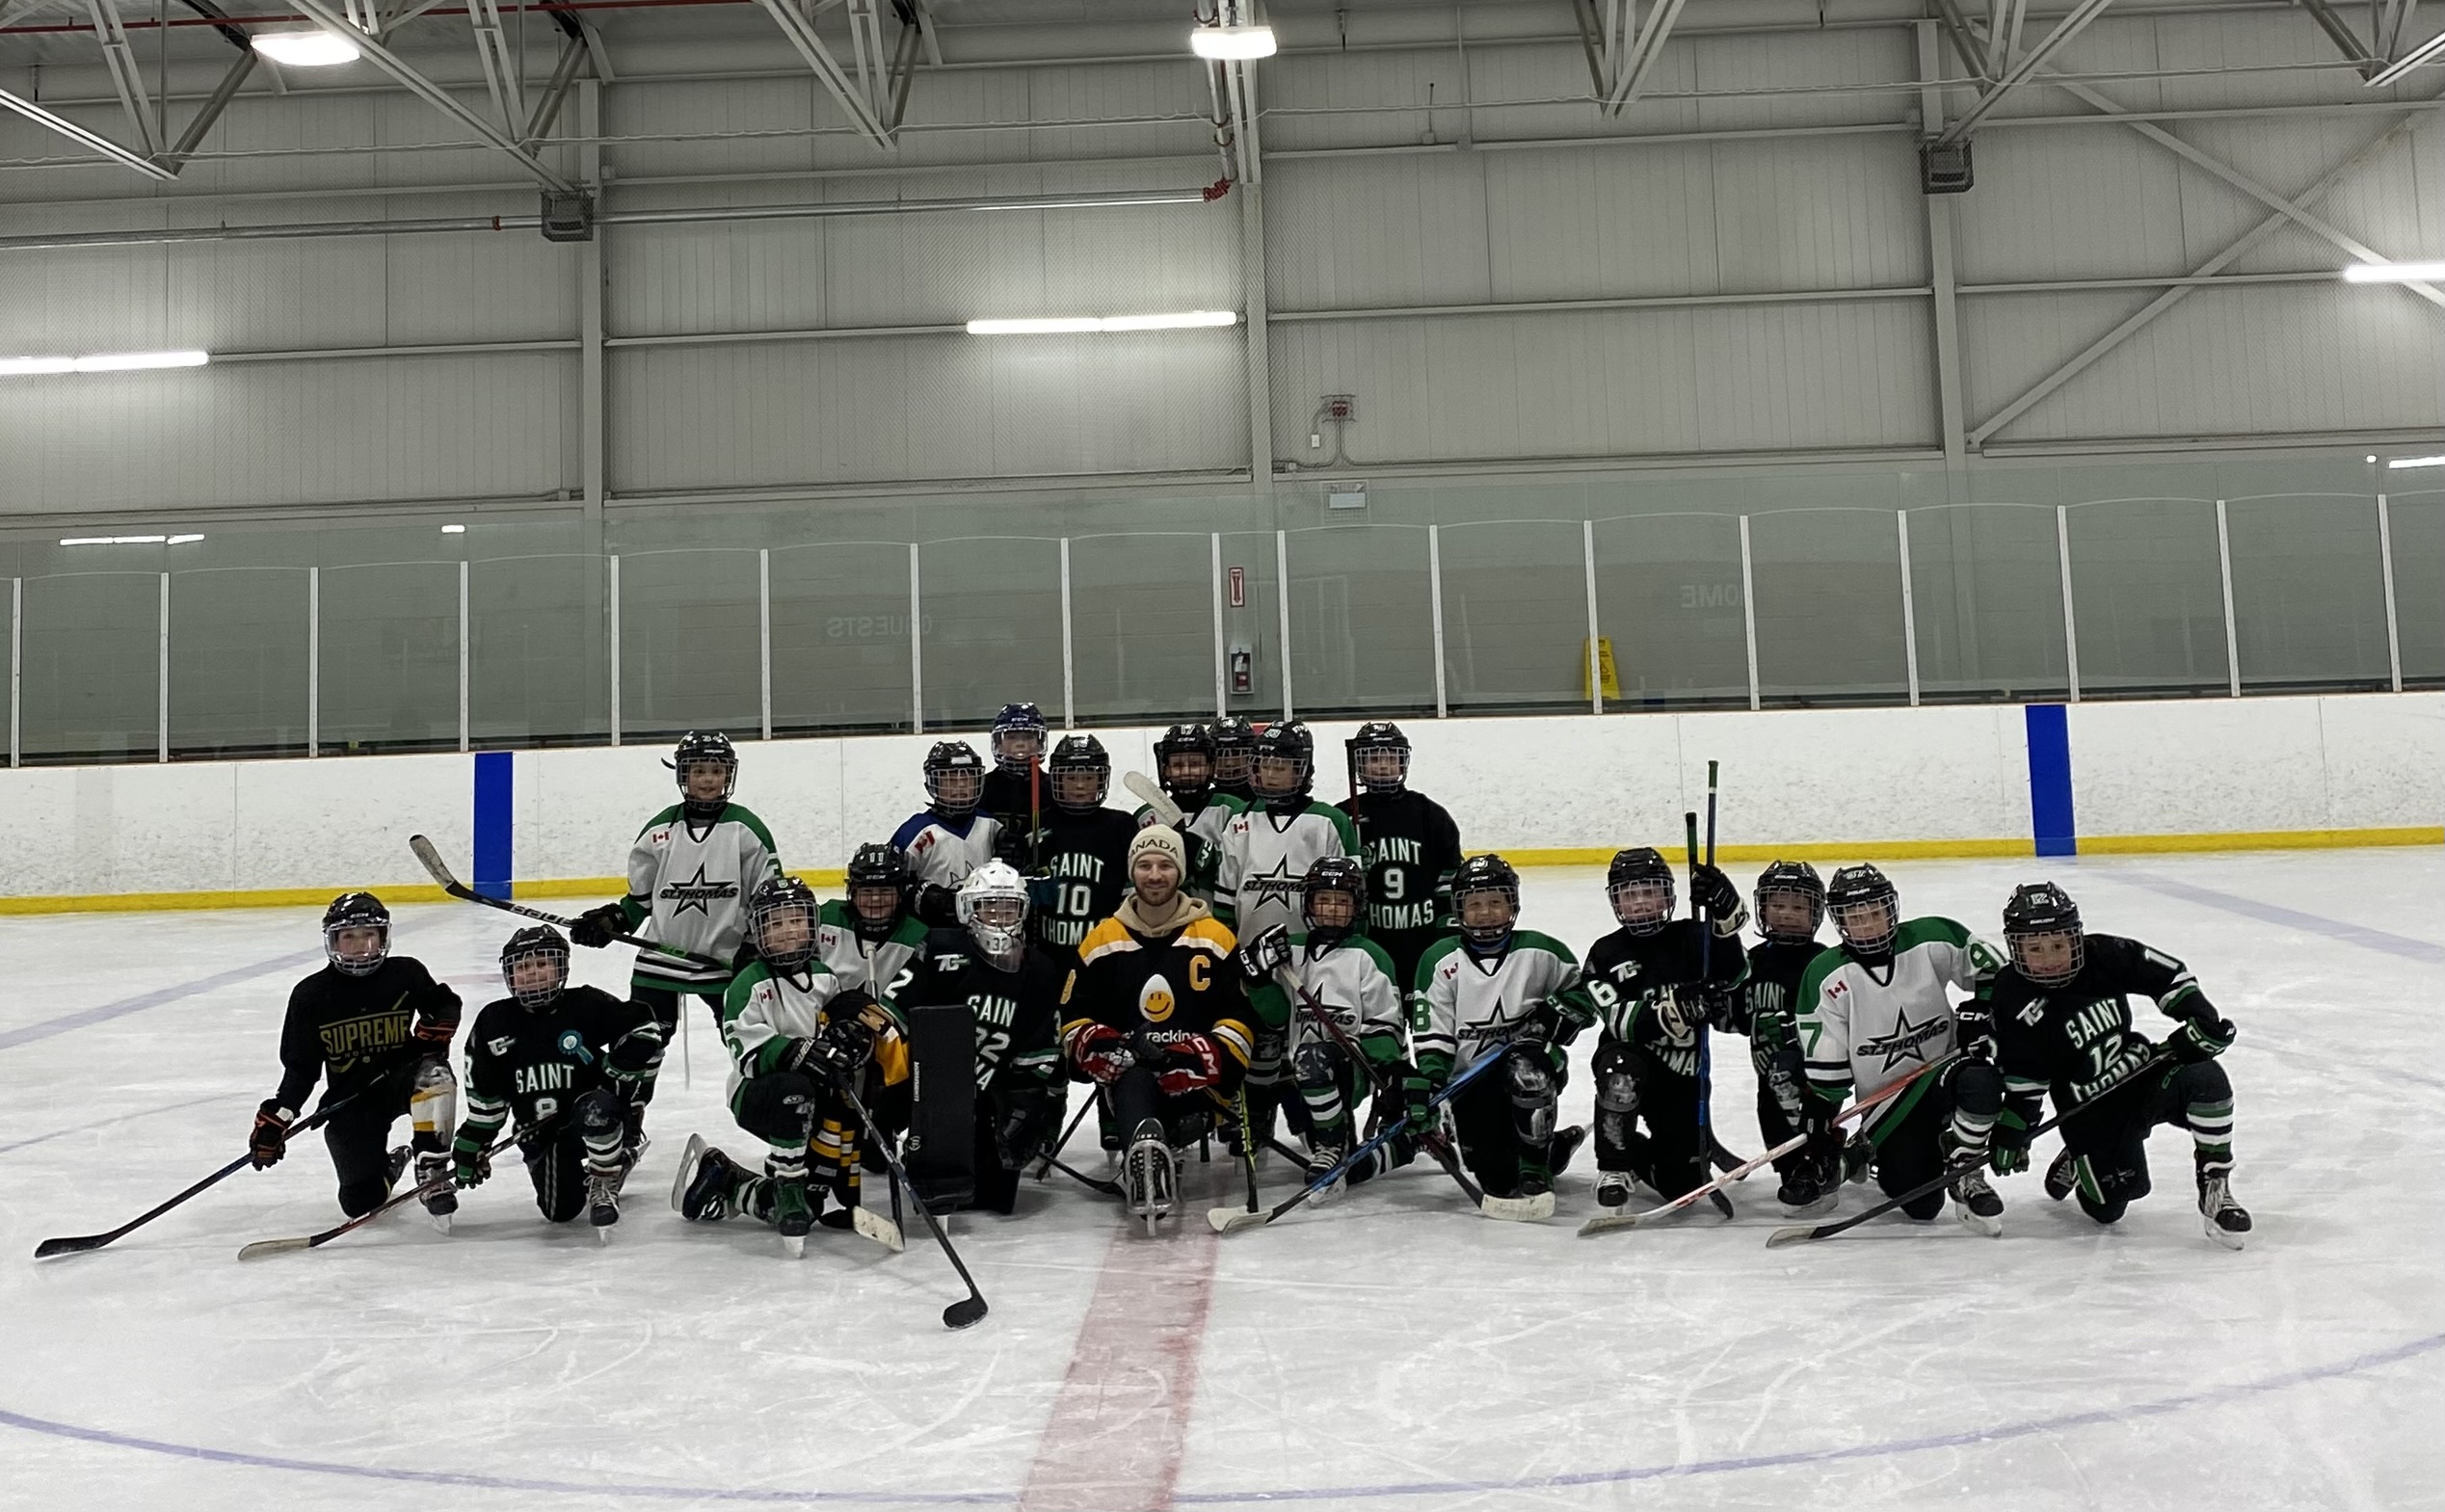
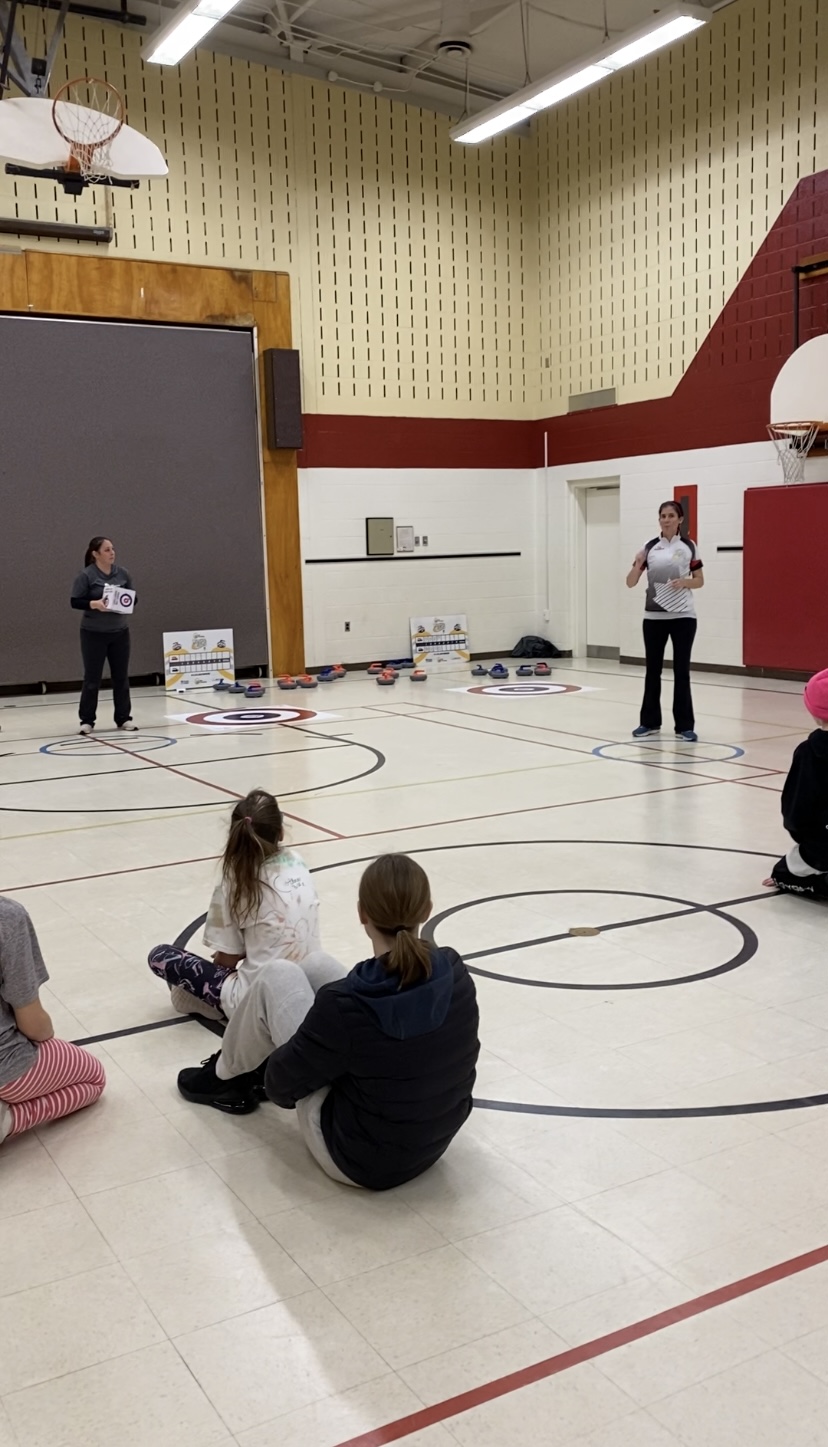
News & Events
Discover what Ontario egg and pullet farmers are doing to contribute to communities across the province.
VIEW ALL